


Introduction
This is version 2.0 of this tutorial, which is fitting because it has been updated for the new OpenSea 2.0. I am not going to waste a lot of space explaining how and where things are different. This tutorial is written for people who have never seen any of this stuff before, let alone OS1. So there isn't much point in comparisons. Having said that, for those that were familiar with OS1, and looking for an update... The new version is very similar. Most of the updates they made eliminate some steps and simplify things, so the whole process goes faster. Most of the screenshots have been replaced to match the new version, but some were so similar to the original, that they remained. That is why some are white.
Update 2025-10-26: This toturial has been updated again. OpenSea dropped all support for POL. This tutorial was written to use POL and the Polygon chain. I've had to update the entire thing to reflect that we are now working with BASE. BASE is an Ethereum based coin created by Coinbase. If you see references to POL in here anywere, it's because it's an update that I missed. We are still only talking about BASE from here on out. The good part of this is that nothing about this tutorial is any different using BASE. It's 100% exactly the same process.
As a matter of clarity, here are links to the previous versions of this tutorial. There is still good information in these pages that may not be covered here.
OS1 Tutorial
What are we going to do?
There are a lot of blockchains that support NFTs. There are a lot of marketplaces. There are a lot of ways to do this. For this tutorial, I am going to stick strictly to creating, minting, and selling an NFT on the BASE chain using OpenSea for minting, and as a marketplace. That's the super-high level explanation.
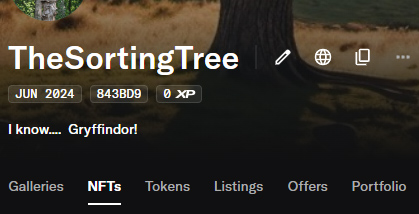
When you are done, you will have a page like this one, with YOUR NFT in YOUR collection.
I will explain each part, step by step. And you'll need that, as it's a lot of steps, and there isn't much explanation from those systems.
Do yourself a favor and use your laptop for this. The page is mobile friendly, but really, it's WAY too much to fit on a phone. Besides, you can't really follow along that way.
Getting started - First thing's first - The things you will need
Install MetaMask. Create new wallet. Make sure you have $1 or so BASE in your wallet. You will have to pay some gas fees during the process of this tutorial.
So you understand how this works... MetaMask is your wallet. Your wallet is your proof of ownership for everything you do on the BASE network. All transactions use this wallet, and are signed (authorized) using it. Your wallet also holds all your coins (tokens), and can be used across multiple chains. In this case, it will be used for BASE.
MetaMask installs as an extension on your browser. Any sites you go to that support connections will prompt you to connect your wallet. This of course, includes OpenSea.
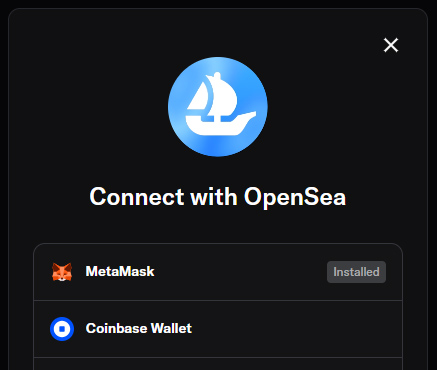
Create your account on OpenSea. Connect your MetaMask wallet. This is a two step process. First choose your wallet.
Then choose what chain you want to connect with. Choose Ethereum.
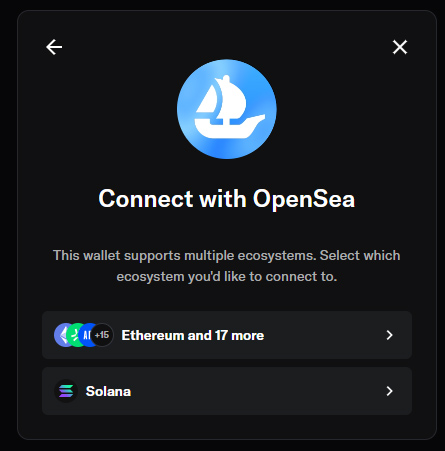
You are going to see that routine a lot. Partly because OpenSea tends to lose the connection from time to time, and partly because different modules, like the Studio, will need their own connection.
Once connected, you will see your wallet address in the top left. To edit and customize your page, click on the little pencil just to the right of your wallet address.
That will take you to this screen.

Fill out this form. You are going to see places throughout this tutorial where you will need to put some sort of image for the sake of displaying this stuff. Just follow the specs provided on the page. Once you fill all of this out, you will be asked to validate your email. That is how you activate your OpenSea account.
Now that your accounts are set up and ready to go, we can take a break from that for a moment to work on creating your first NFT.
Create your image
Decide what format you are going to use. They all must be the same. If the first one you mint is a PNG, then all subsequent assets must be PNGs. NFTs can be anything from music to video to images of all kinds. For the purposes of this tutorial, we will stick to creating a PNG image, and a collection that will use PNG images.
How do you create your image? That is really up to you. But if you lack the ability to take a picture or draw something yourself, generative AI is a good place to start. I just happen to have a page with such an AI image generator on it. It's not the best or the fastest. But it's 100% open source and royalty free... And yes, that is how I created the NFT for this tutorial.

Now that you have created your image and saved it as a PNG, you are ready to start working on your collection.
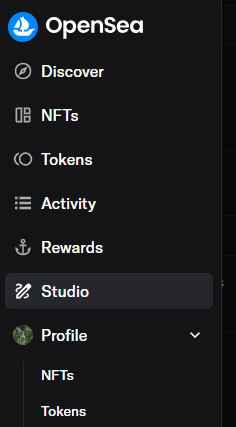
The main menu is over on the left. It will expand when you roll the mouse over it. Go to Studio.
Since you have no collection for which to mint an NFT yet, you will need to create one.
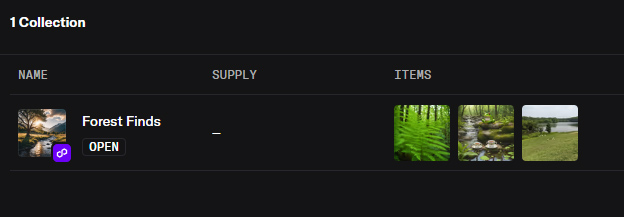
So, you will see a page with this. Except that you won't have a collection yet.
Look to the bottom.
Click the Create button.
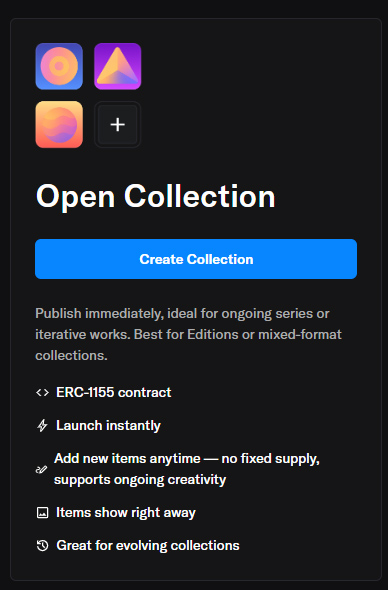
On the next page, choose the "Open Collection" option to create a collection.
This will bring you to this page.
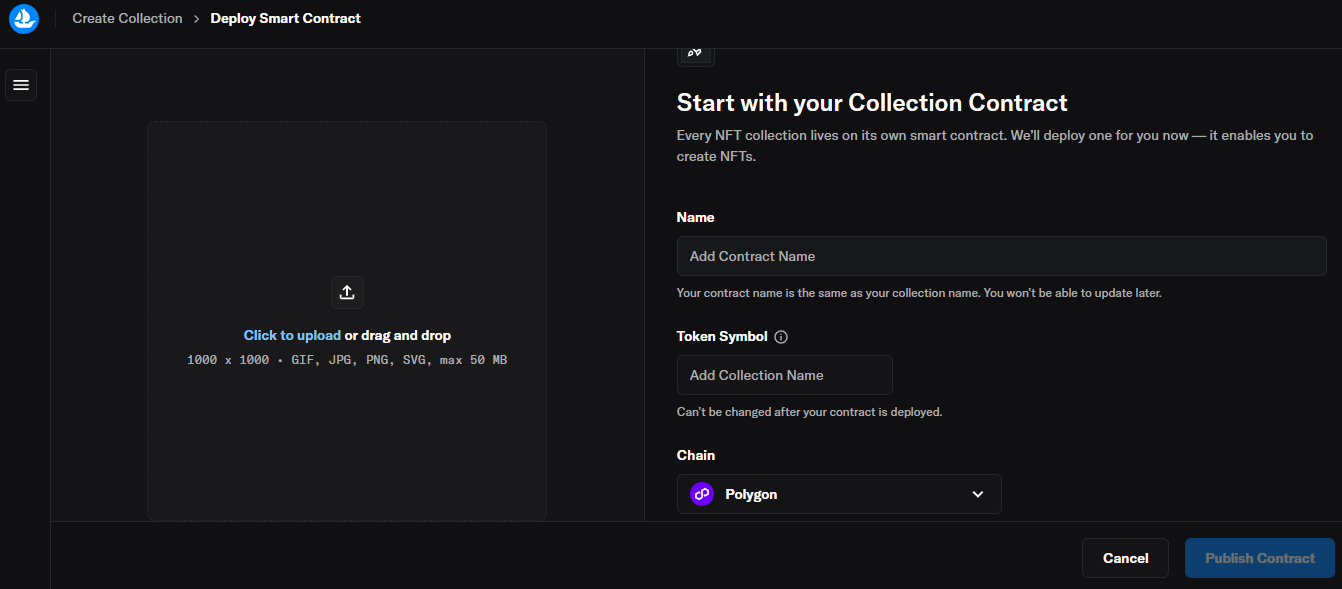
The Create Collection page. From here you will do your basic setup for your collection. This will create your contract for your collection.
The final step at the bottom is to choose what chain you want to work with. Ethereum is shown by default. Open up that drop down and choose BASE.
Once you have that page filled out, and you are satisfied with the basic setup, click Save. This will call MetaMask to approve the creation of the contract and tell you how much gas you have to pay.

Pay your 0.0001 BASE and Confirm.

Now that this is all done, your initial Studio Page will look like the screenshot above. You will have a collection!
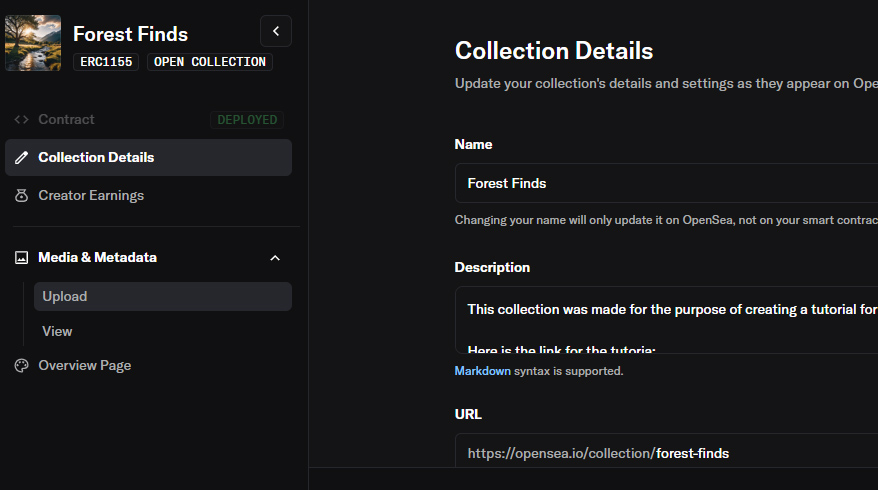
Click OPEN. This will take you to the collection page. From here, you will see the details that you put in when you created the collection. From here you can make changes to your collection. Read this page. Make your selections. This is your place to customize everything about this. For right now, the default values are all you need. But you might want to come back here later, when this is all done.
As for now, we are interested in adding a new NFT. Open the Media & Metadata drop down. Choose Upload.
We are finally ready to create our first NFT.
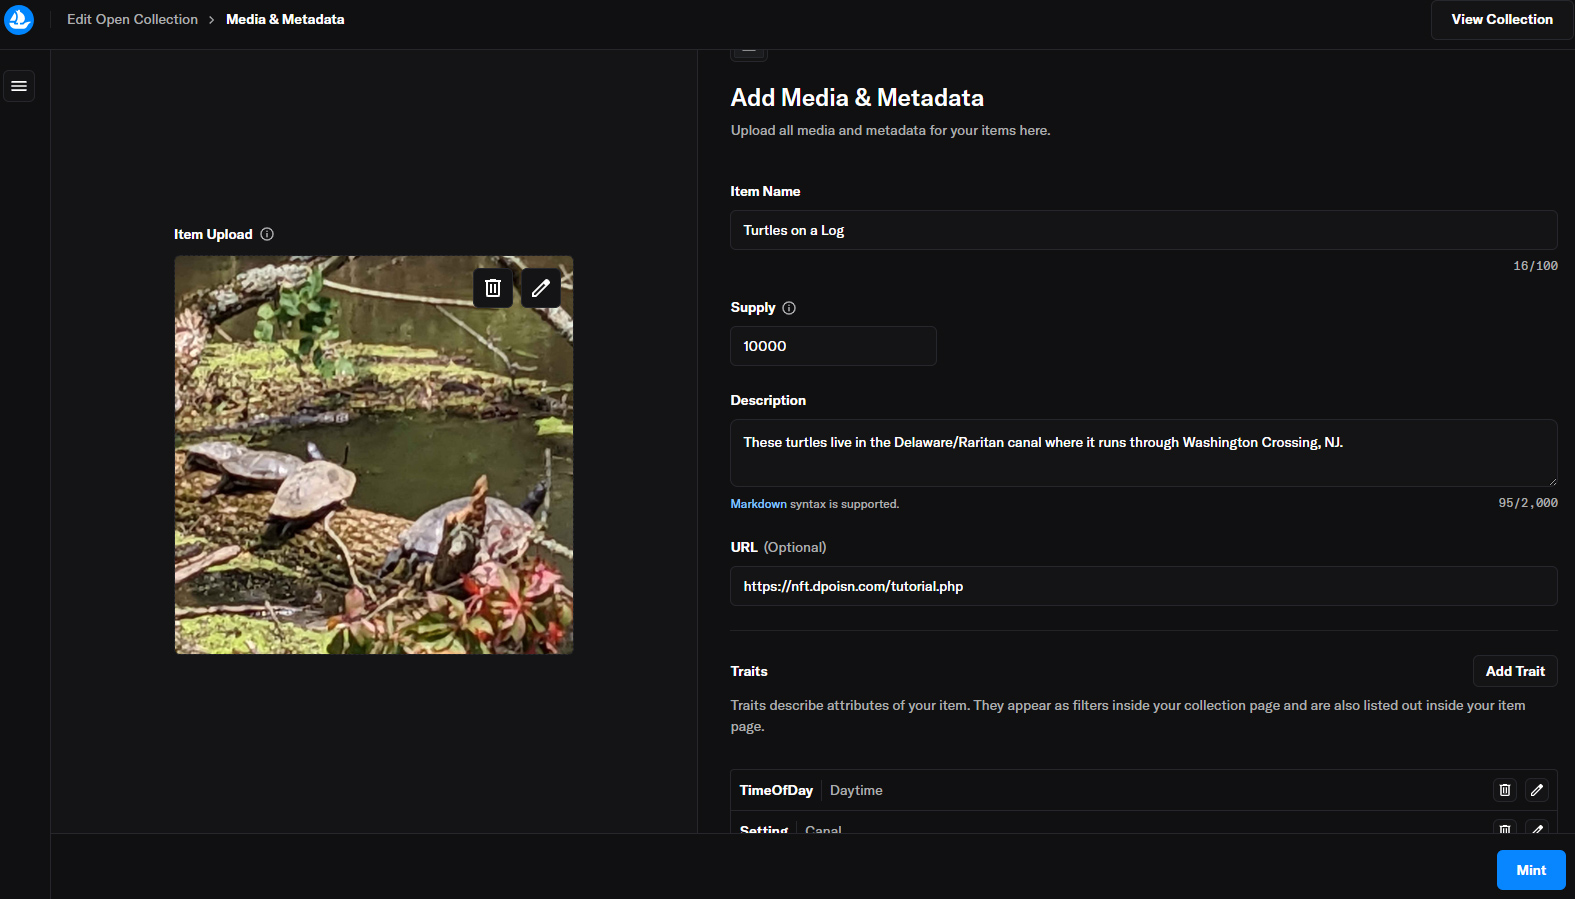
Drag and drop your new image. Give it a name. Specify how many you want to mint. You can mint anyhwhere from 1 to billions. But the more you mint, the less they will be worth. I'm going with 10k for this one. Give it a description. Give it some Traits.

The Traits are a fun little thing. You can create any number of them. You can name them whatever you want. You can assign whatever value you want.
The idea is that if you have a big collection, some of your assets will share some traits. Like, "Type / Animal". With that in place, people viewing your collection will be able to filter down to assets that are of that Type - Animal. They share that trait.
That is a wide open sandbox for you to work with. The link I provide there shows an example of how one of my collections is set up.
One other thing to note here. Once you mint this NFT, it cannot be changed. Nothing can change. All the data you enter here is locked. So be absolutely sure that all your info is correct before you finalize it.
Finally, mint the thing.

Watch the gas fee on this page. BASE fluctuates. The fee for this is usually about 0.000009 to 0.00001 BASE. MetaMask will usually show this as like <$0.01 or something. And that is what you should look for. If it is showing like $0.03 or something, it's because the network is busy and that makes the gas fees go up. I've seen the gas fee go as high as $.50 in BASE! And that is clearly ridiculous. When that happens, I just walk away and wait until gas comes down again.
Anyway... Be careful to look at that number.
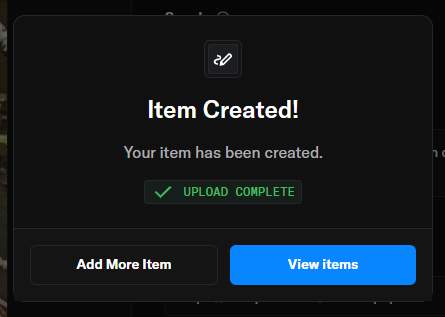
You did it! You have your first collection and your first NFT minted! Congratulations. Welcome to the club.
Next, you have to UnHide your new NFT.
NOTE: It seems that OpenSea has corrected this issue for newer collections. If your NFT is not hidden, you can skip this step. I'm leaving this blurb here regardless.
I said I wasn't going to make any comparisons to the old version of this, but this is one thing that must be brought up because it is so remarkably stupid, that I am going to remark on it.
Here we have an extra step. Because your new NFT is, by default, hidden. This is remarkably stupid because you just created the thing. Why on Earth would you want it hidden by default? But moreover, it's like that with any NFTs that you purchase too. But what is really stupid is that NFTs that are sent to you without you even knowing about it, show up UNHIDDEN by default. All of this is the exact opposite of the way it's supposed to work. And the way that it DID work in OS1. For more on this, please see my article where I explain how OpenSea 2.0 is a Disaster.
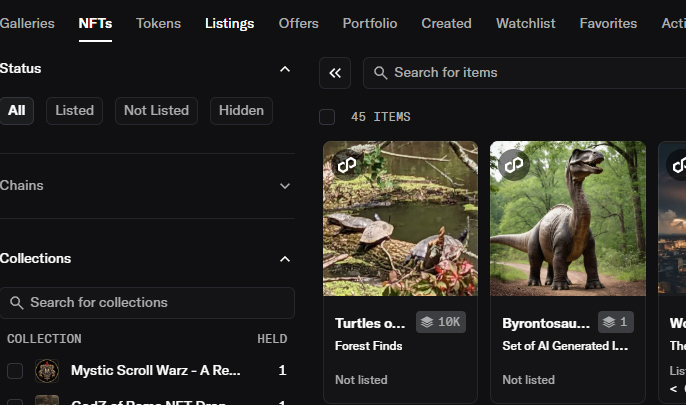
Rollover the menu on the left again and go to Profile/NFTs.
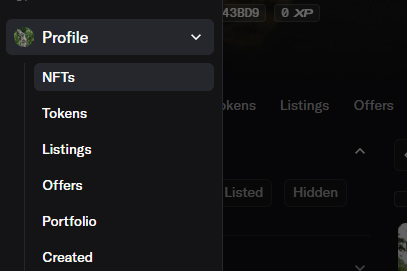
Once in there, click on the Hidden button. Doing so adds a filter to the NFTs you are looking at. You want to only see those that are hidden.
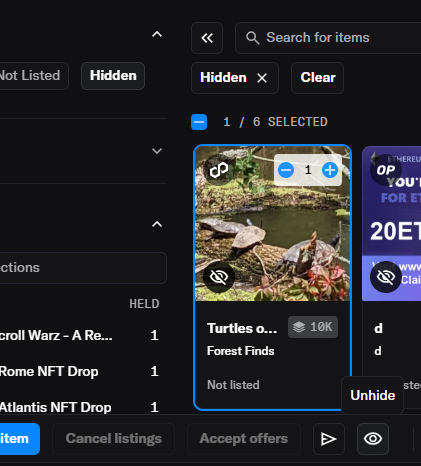
Clicking on the upper right area of the item will select it. Once selected, hit the Unhide button. MetaMask may ask you to authorize this action.
And just like that, your new NFT is in your main portfolio, visible to all, and ready to sell. Remember how you selected it before? Do that again, but keep hitting the plus button. That will keep that counter going up.
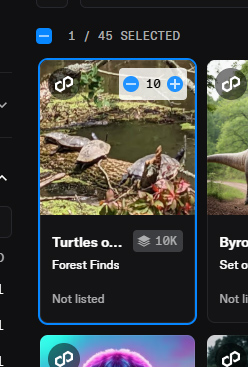
This is how you can set up the next step, selling your new NFT, by presetting how many you wish to put on sale.
You know, rather than showing you how to sell just the one, it is much more routine to sell a whole bunch at once. That being the case, I'll show what it looks like when 2 are selected. Hit the List Items button on the bottom left.
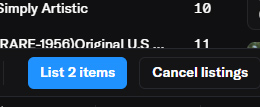
That won't bring you to a new page. It will just slide up this drawer from the bottom, showing a list of the items selected. Here I have 2. You could have anywhere from 1 to 50.
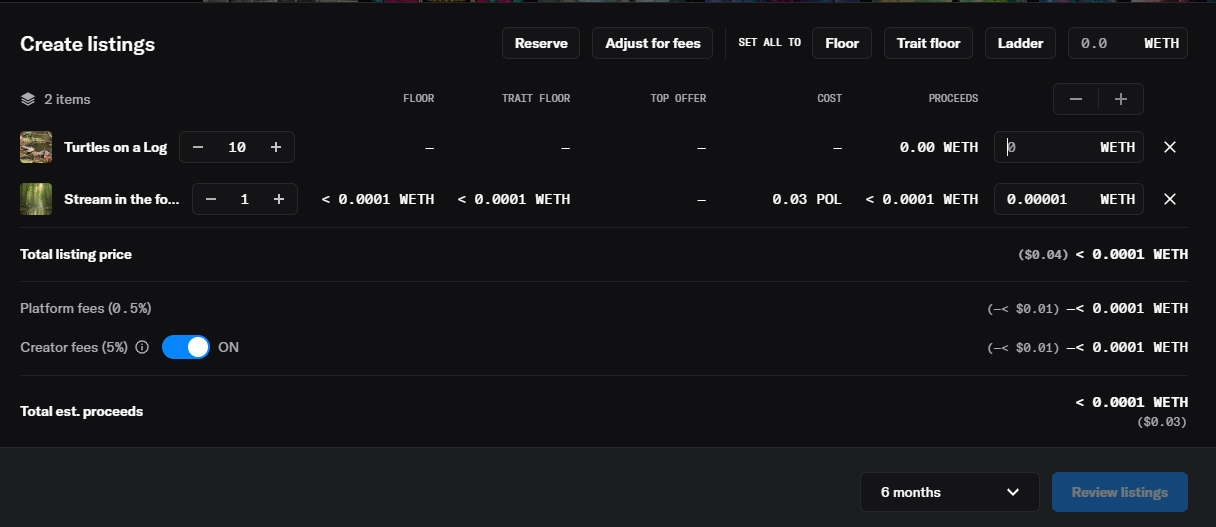
Each row on that list can be edited individually. You set the price, and how many of each you wish to put on sale. The buttons at the top for Floor, Top Trait, and so on, are shortcuts that allow you to modify everything on the list at once. Clicking Floor will set the selling price for the lowest price that NFT is currently selling for. If there is no floor price for that item, the price will remain unset. You can also just type a price in that box for ETH, and that will set the price for all of them wo whatever you put there.
Shortcuts are nice, but since you can modify them each manually, it's usually best to do that.
A word on ETH. We are working with BASE. Yes. But BASE is an ETH token. Confusing as it may be, sometimes you will see the token as ETH with a Base logo on it. When you are putting assets up for sale, ETH is what shows in this screen.
Further words on the token we are using. All of my collections, and this tutorial were originally using POL, because that is what was the best and most affordable solution on OpenSea. When they release 2.0, they dropped support for POL. You can still see things in POL, but you can only buy/sell using WETH. Why on Earth would OpenSea allow you to build a contract on Polygon, mint your NFTs on Polygon, but then ONLY allow you to sell for WETH?!?! Why? Well, I've asked them that. They told me that that was what users wanted overwhelmingly. That, pardon my Belgian, is a bunch of bullshit. There is no way that happened. I'd been using OS for years before this and never even considered WETH for any reason at all. Read my article that I linked above for more on that.
My last interaction with OpenSea was them saying, "We are not bringing back support for POL. Deal with it." In dealing with it, I've more or less determined that BASE is a reasonable replacement for POL. It works exactly the same. The costs are about the same, may be a little cheaper sometimes. So I gave up fighting, and resigned myself to recreating all my stuff in BASE and moving on.
Now where was I? Right. Selling.
Decide how many you want to sell, set the price, set the length of time to sell it. 6 Months is normal. Click on Create Listing.
This will invoke the MetaMask extension to ask you to Sign (authorize) putting this item up for sale. There are NO gas fees for this!
Once you Complete the Listing, the NFT can be bought by people visiting the page. Your NFT is minted, set up, and is now for sale!!
Collections Page
At this point, you are pretty well finished. All that is left to do now is some last bits of tidying up.
I mentioned that we would get back to spiffying up Collection Page. I'm not going to write that part again, as it is really no different than anything else in this tutorial. It's a form page. Read it, make updates, experiment with it. If you would like some guidance, check the previous version of this Tutorial. It's all at the bottom of the page.
That's about it. I think I've covered this about as well as I can. Feel free to hit the contact button if you have any questions.
I hope you found this helpful! I hope you mint piles of NFTs and become a millionaire!
Please share on social media. Join my Discord. Have a great day!
Last updated: